
Ingredients
Method
- Cover dried soybeans in plenty of water and soak them overnight (8-12 hours). They will double in size- make sure you have enough water to cover.
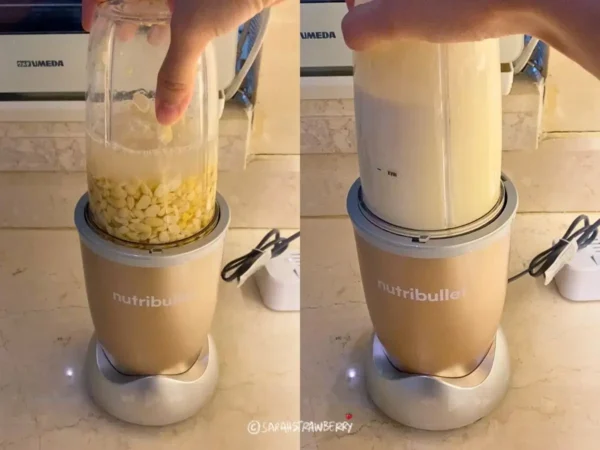
- Drain the soaked beans and give them another quick rinse. Then blend them with fresh water until smooth. The ratio is 1 part soaked beans to 5 parts water (but feel free to experiment).
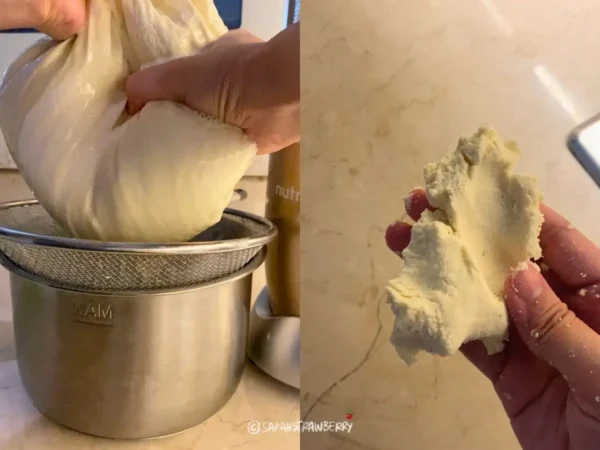
- Place a nut milk bag or muslin cloth over a large bowl, pour in your blended mixture, then gather the edges and squeeze. Squeeze hard; you want to extract as much liquid as possible!What's left in the cloth is okara (soy pulp). Don't toss it!
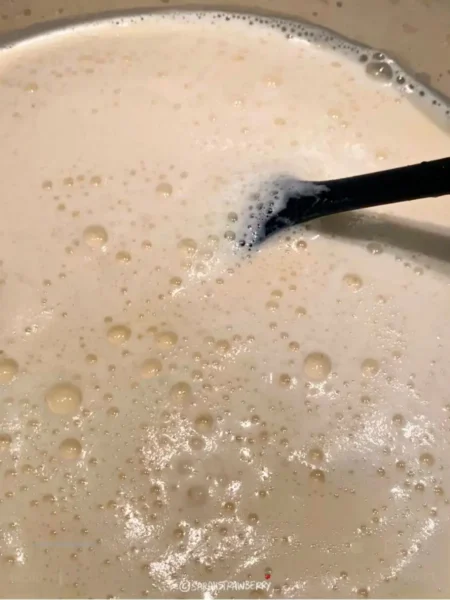
- Pour the strained soymilk into your prepared pot and bring it to a gentle simmer over low to medium heat. Heat it for 20 minutes to cook out that raw beany flavor.
- Optional: add sugar while it's still hot so it dissolves properly. I use about 3-4 tablespoons per liter, but taste as you go.You can also keep it unsweetened if you're using it for coffee or cooking. Totally up to you!

Notes
Bean quality matters: Those non-GMO local soybeans I bought? They were plump, bright yellow, and fresh. I'm convinced good beans = better soymilk. Look for ones without dark spots or wrinkles.
Don't skip the cooking: Some people drink it raw, but traditional preparation always includes cooking. Trust the process—it improves digestibility and gets rid of that weird raw taste.
Adjust to your taste: My first batch was too thick (used too little water). Second batch was too thin (overcompensated). Third batch? Chef's kiss. You'll find your sweet spot after a try or two.
Storage tips: Homemade soymilk lasts 3-4 days in the fridge. It'll separate a bit—totally normal. Just shake it before drinking. You can also freeze it in portions if you make a big batch.
Watch for the foam: As it heats up, the soymilk creates a ton of foam and can boil over FAST if you're not paying attention. Keep the heat moderate and don't wander off during cooking. (I learned this the hard way.)